
Cool mornings and colder nights mean it’s about time to close the pool until next summer. Should you drain it or leave it alone? Are pool covers worth the money? As you’re hustling to get the rest of your property ready for winter, it’s easy to make mistakes or overlook details.
If you take these steps, your pool closing should be an easy process every year.
Step 1: Invest in a pool cover.
In an effort to reduce the expense of buying a pool, many people will opt out of getting a pool cover. However, an uncovered pool will cost you far more over the span of a few short years.
During the fall, winter and early spring, an uncovered pool will become a catch-all for leaves and debris. Those leaves will spend all winter stewing away in the bottom of your pool.
In the late spring, a nasty sludge-filled pool will be waiting for you. You’ll spend hours shoveling rotten leaves out of your pool, and the grime is likely to leave a stain. It will be expensive to open your pool, and possibly require you to purchase a new liner if you want it to sparkle again.
A cover also protects the liner. Floating chunks of ice, branches, and other sharp objects can make it into the pool over the winter, which can cause liner cuts and tears. A cover collects debris on top rather than it all falling into the pool.
Also, year round sun exposure can reduce a liner’s lifespan. Covering the liner can prevent it from becoming brittle and fading prematurely.
Step 2: Stop! Lower the water levels, don’t drain it.
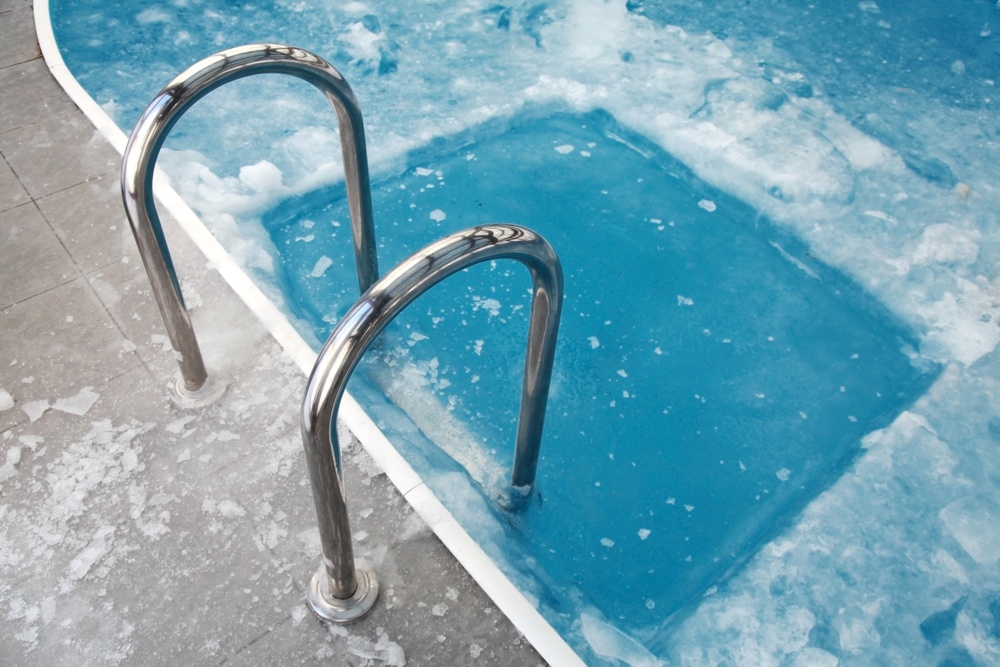
To some people, it makes sense to drain the pool for the winter. After all, wouldn’t a giant block of ice do some kind of damage?
If you have a vinyl-lined above-ground pool, leaving it full for the winter will protect the vinyl liner from shrinkage and other damage. Since these pools are above ground level, keeping them full ensures that the wind will not damage the walls, liner, or frame.
While in-ground pools are fairly safe from wind, they do present their own challenges. As temperatures dip, the ground freezes and expands, putting pressure on your pool’s walls from the outside. The weight and force of the water inside your pool counteracts the pressure from the ground outside your pool. In other words, a drained in-ground pool has the potential to crack – or in extreme cases, cave in – when the ground freezes!
Not draining the water will save you time, effort and the money needed to refill it in the spring. Instead, lower the pool water level to just below the skimmer opening.
Step 3: Remove unnecessary items
Take out the ladder, wall fittings, cleaners and solar blankets, and store them somewhere safe, so they are not impacted by the weather.
Step 4: Conduct a final clean
Skim, vacuum and brush the pool. If you close up a dirty pool, then you will open a dirtier pool in the spring. Remember to add any algaecide and chlorine shock (not at the same time!). Once it is sparkling clean, then it is almost time to put on the cover and call it good.
Step 5: Drain the filter pump
While you will leave water in the pool, you will want to drain the equipment to the pool including the filter and pump. Install freeze plugs and remove all the directional fittings. Great! Everything is done to prep the pool, now install the pool cover.
Step 6: Check on it periodically throughout the winter.
So you’ve left your pool full of water and put the cover on – that should keep it safe over the winter, right? Not necessarily! You’ll still need to protect your pool from ice, and your pool cover from leaves, snow and other heavy debris.
Here are some helpful closing tips:
- Take care to pump excess water off of the cover as it collects. A little water is advised, as it keeps the cover from whipping in the wind, but too can put intense pressure on the straps and pool rails.
- Sweep or shop vac off leaves as they collect on top of the cover. Not only can they add to the weight of the cover, but they can cause the collected water to become swampy.
- Use a Gizmo ice compensator in your skimmer so that if your water freezes, the ice will squeeze inward on the Gizmo rather than outward.
If you skip one of these steps, your pool isn’t likely to suffer catastrophic damage. However, the cleanup and repair process will end up costing you more than proper maintenance, and it will be yet another item on your already long spring to-do list.
Are you looking for more pool maintenance tips? Then follow our blog for the latest news and trends.


.png?width=263&name=May%20%20CL%20%20(1).png)